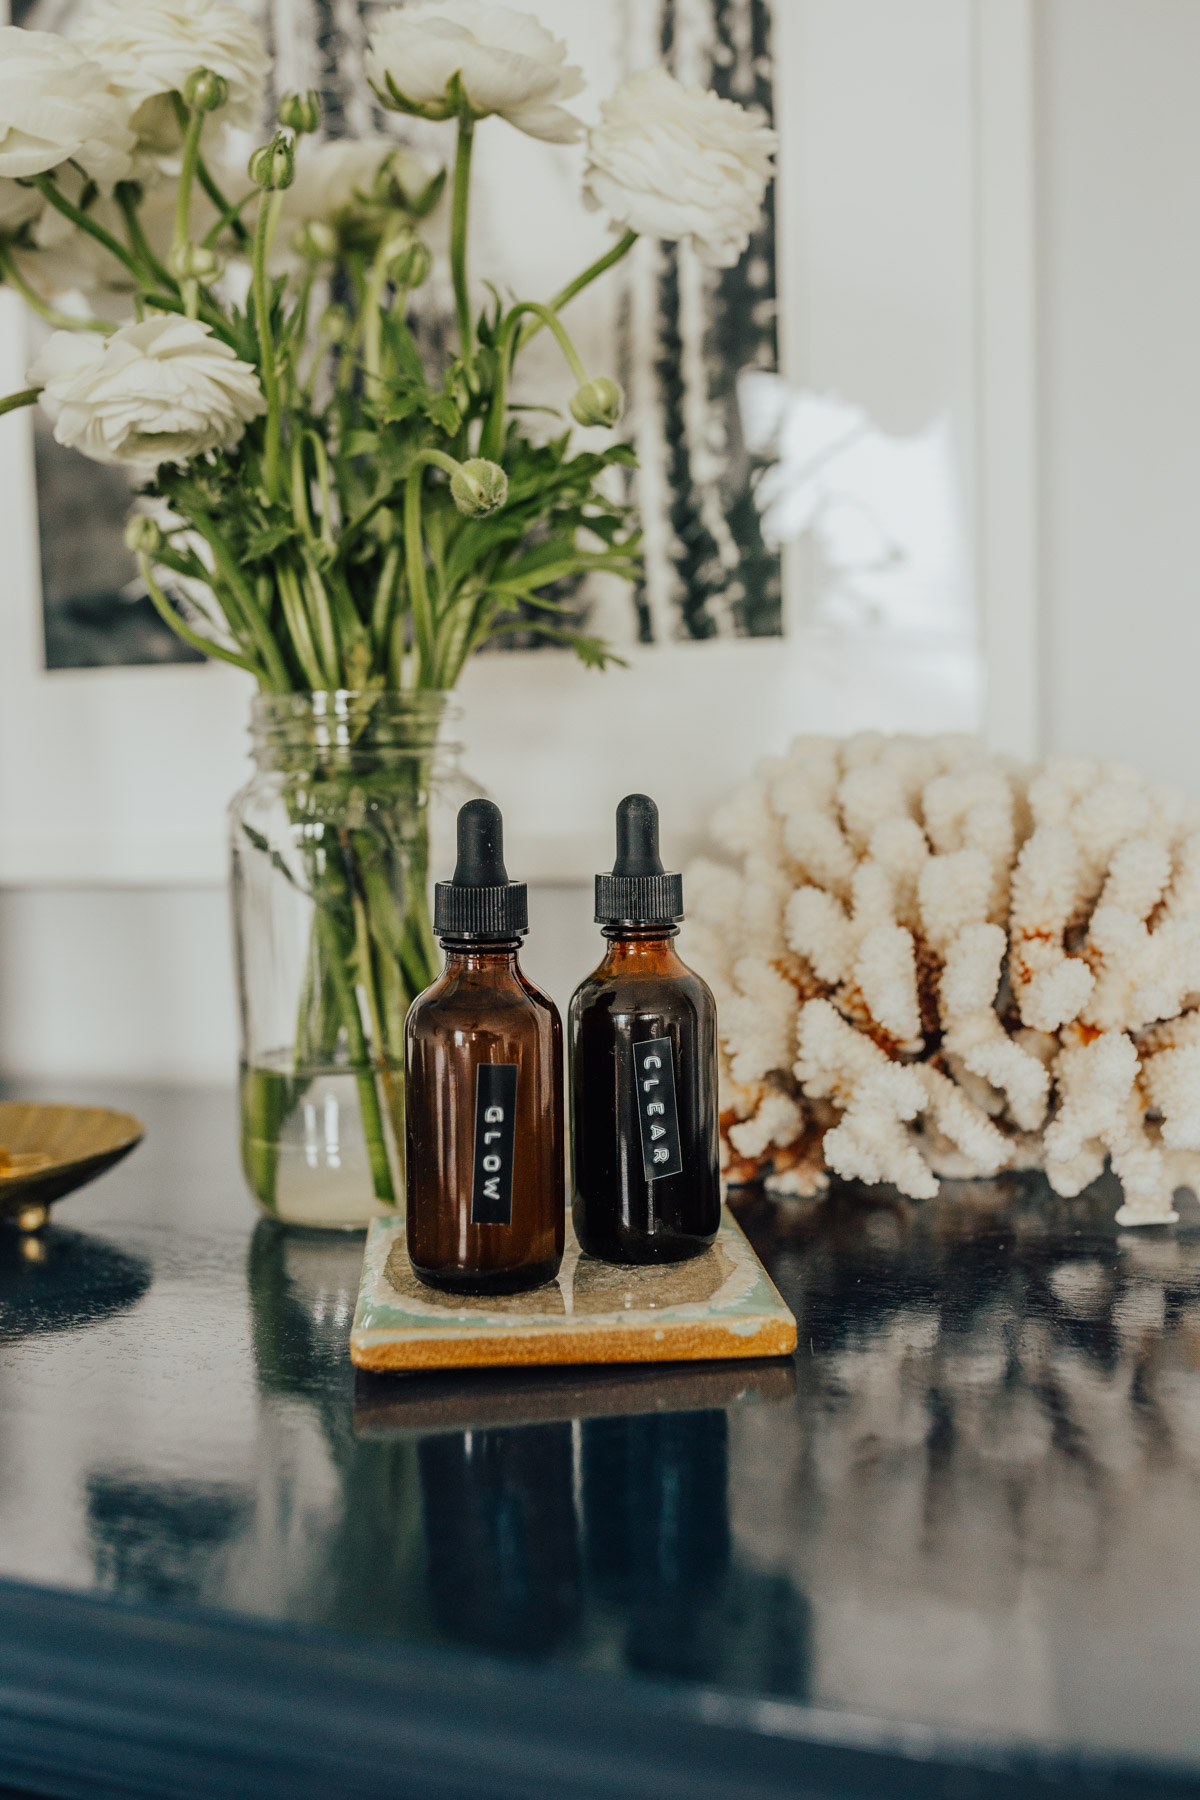
I’ve been teasing my homemade face serum recipes for a while now, and I’m excited to finally share them with you. After a good long test, I can confidently say that the results are pretty spectacular! My skin is the clearest it’s been in a long time, thanks to a combination of lifestyle and skincare changes.
The Recipe for Clear and Glowy Skin
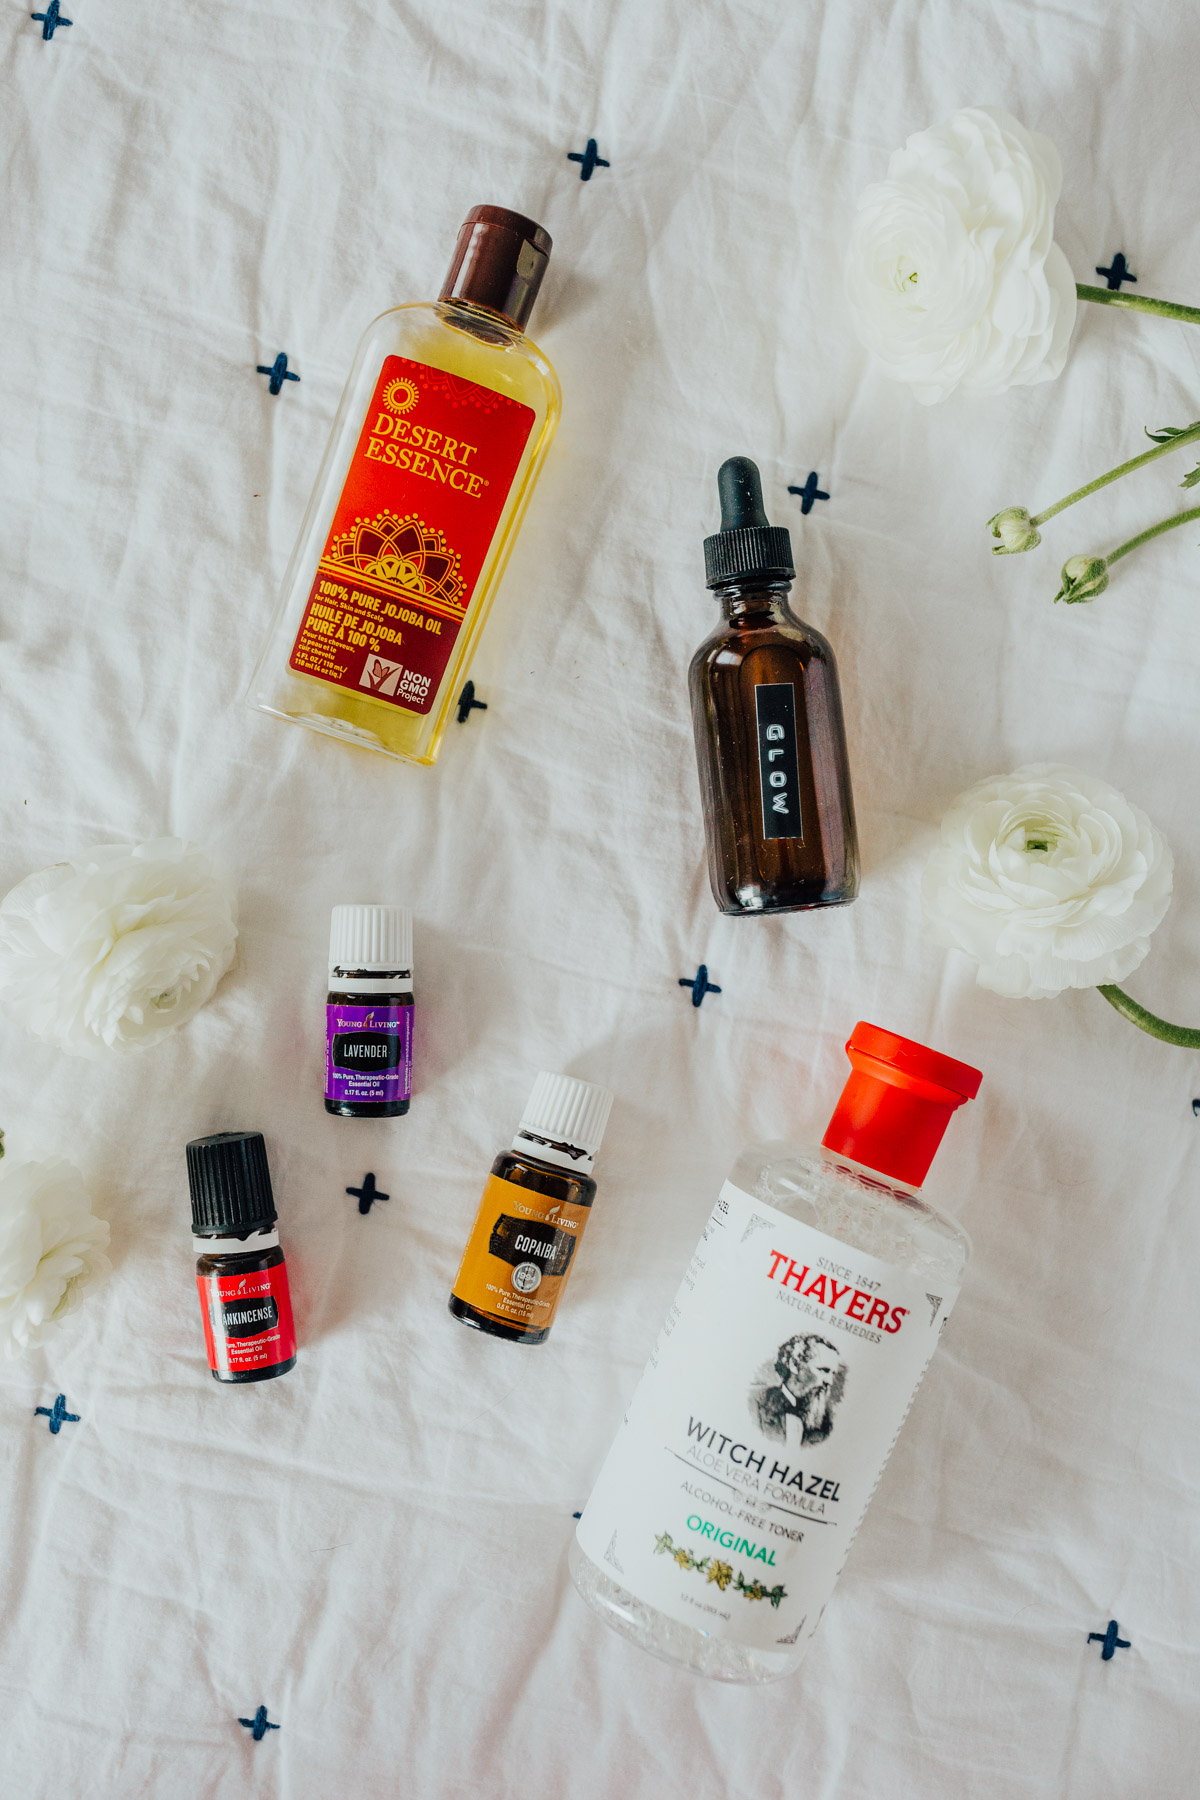
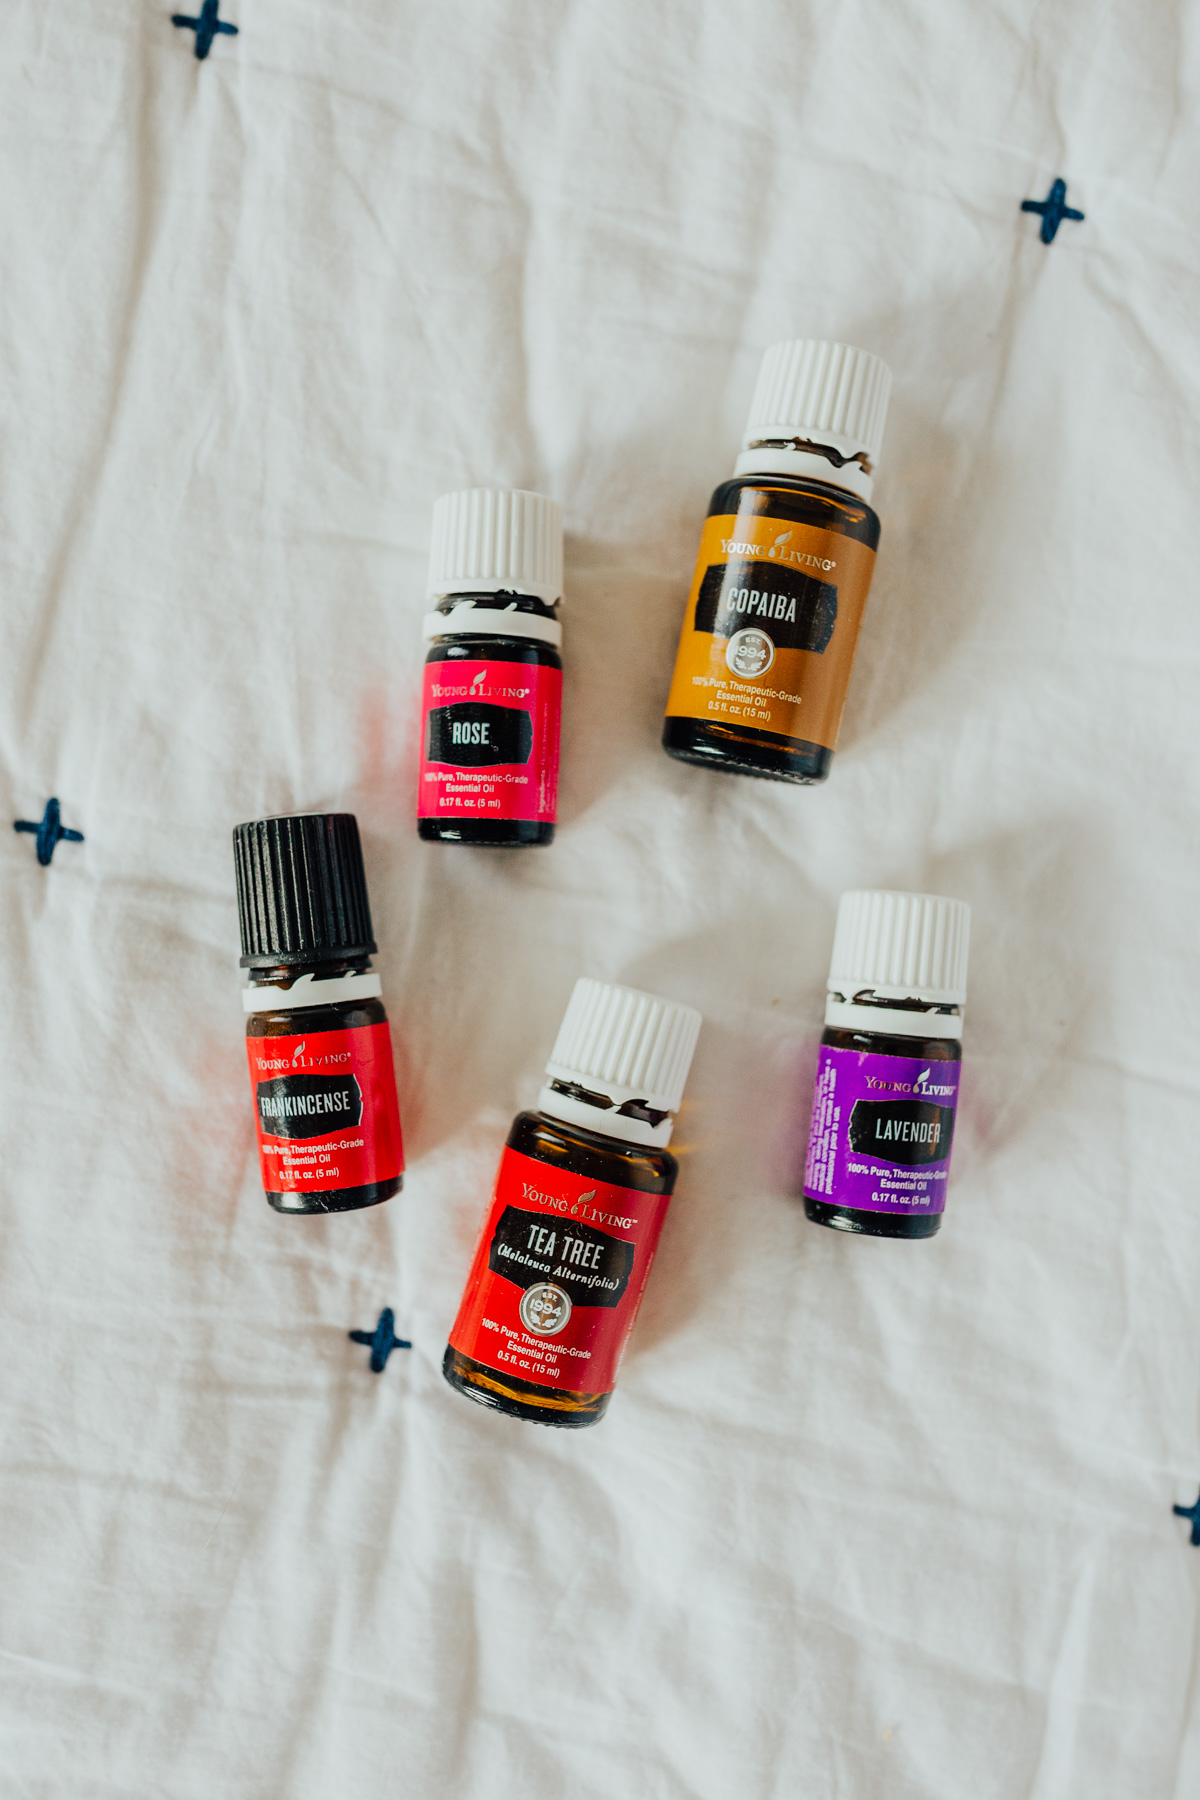
If you follow any essential oil Instagram accounts, you might have come across the Glow recipe. It combines frankincense, copaiba, lavender essential oils, witch hazel, and jojoba oil. The before-and-after photos I saw were amazing, so I decided to start with those three essential oils for the base of my serum.

To enhance the serum’s effectiveness against breakouts, I added tea tree essential oil, known for its anti-inflammatory and antibacterial properties. I also splurged on rose essential oil, which is great for anti-aging and healing scars. However, you can omit the rose oil and still achieve great results.
Choosing the Right Carrier Oils
Before I share the recipe, let’s talk about carrier oils. Essential oils are potent, so it’s best to dilute them with carrier oils when using them daily. Some popular carrier oils include jojoba oil, hemp oil, argan oil, and grapeseed oil. Each has its own benefits, and you can mix different carrier oils to customize your serum for your specific skin type.
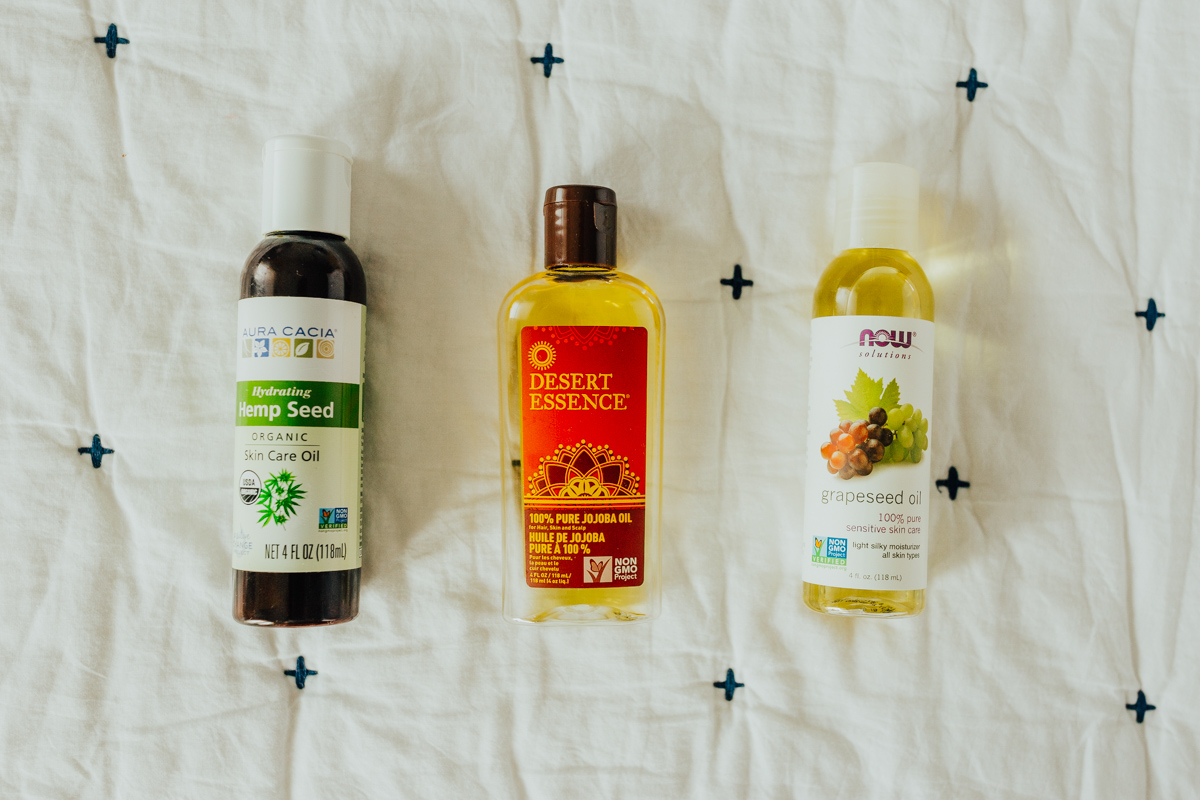
- Jojoba Oil: Good for all skin types, especially normal or combination skin.
- Hemp Oil: Ideal for oilier skin types, helps with hydration and can reduce blackheads.
- Argan Oil: Best for dry, acne-prone, and aging skin that needs hydration.
- Grapeseed Oil: Suitable for most skin types, helps tighten pores and reduce the appearance of scars.
Determining Your Skin Type
If you’re unsure about your skin type, a simple test can help. Wash your face and let it air dry. If your skin feels tight, you likely have normal or dry skin. If it feels light and refreshed, you probably have oily skin. Remember that acne doesn’t necessarily mean you have oily skin, so understanding your skin type is essential for choosing the right carrier oils.
How to Make Face Serum at Home
It’s surprisingly easy to make your own face serum at home. All you need are the ingredients, an amber dropper bottle to preserve the essential oils, and a little bit of time. No fancy equipment or heating required. Here’s the recipe for the clear skin serum:
In a 2 oz. amber/dark dropper bottle, combine:
- 20 drops frankincense essential oil
- 20 drops copaiba essential oil
- A splash of witch hazel (unscented, alcohol-free)
- 20 drops lavender essential oil
- 20 drops tea tree essential oil
- 10 drops rose essential oil (optional)
- Fill the rest of the bottle with a carrier oil of your choice (hemp and grapeseed work well)
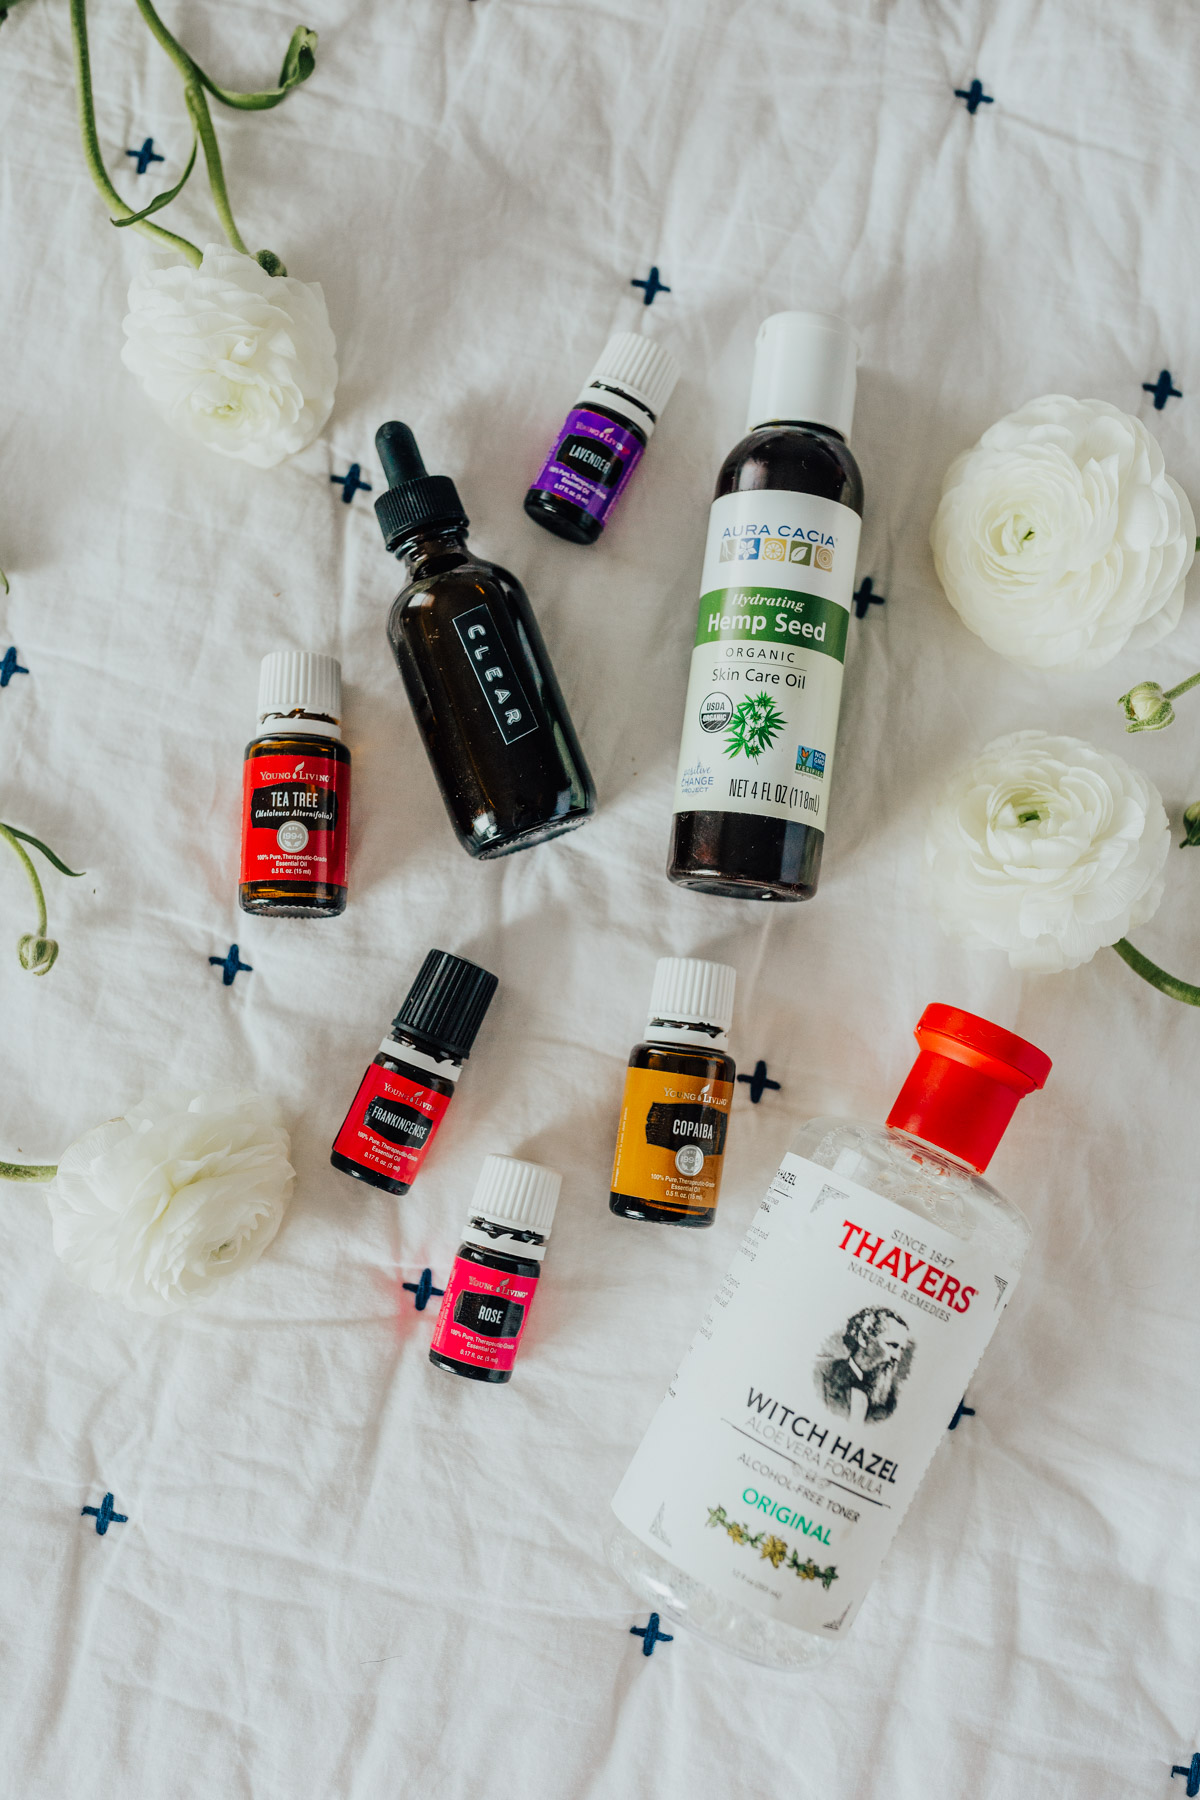
If you’re looking for a serum for glowing skin, try this recipe:
In a 2 oz. amber/dark dropper bottle, combine:
- 20 drops frankincense essential oil
- 20 drops copaiba essential oil
- A splash of witch hazel (unscented, alcohol-free)
- 20 drops lavender essential oil
- 10 drops tea tree essential oil (optional)
- 5 drops rose essential oil (optional)
- Fill the rest of the bottle with a carrier oil of your choice (jojoba and grapeseed work well)
How and When to Apply the Serum
To incorporate the serum into your skincare routine, apply it in the morning and evening. In the morning, use it as a moisturizer before applying SPF and makeup. At night, it should be the final or penultimate step in your routine. A few drops are enough, and you can massage it onto slightly damp skin for better absorption.
Where to Buy Essential Oils
When making your own skincare products, it’s essential to choose high-quality essential oils. You can purchase them from reputable brands like Young Living or find them on Amazon or stores like Whole Foods. Make sure to buy from sellers with good reputations and positive reviews.
Invest in Your Skin
Making your own skincare products is not only a cost-effective approach but also allows you to invest in high-quality ingredients tailored to your skin’s needs. While the initial investment may be higher, you’ll be able to make multiple products from the raw ingredients. My skincare routine is my daily self-care, and I love how simple and nourishing these DIY recipes are.
Feel free to tweak the recipes according to your skin’s requirements. Making your own face serum allows for customization and experimentation. And stay tuned for more skincare recipes, including a super hydrating and healing balm!
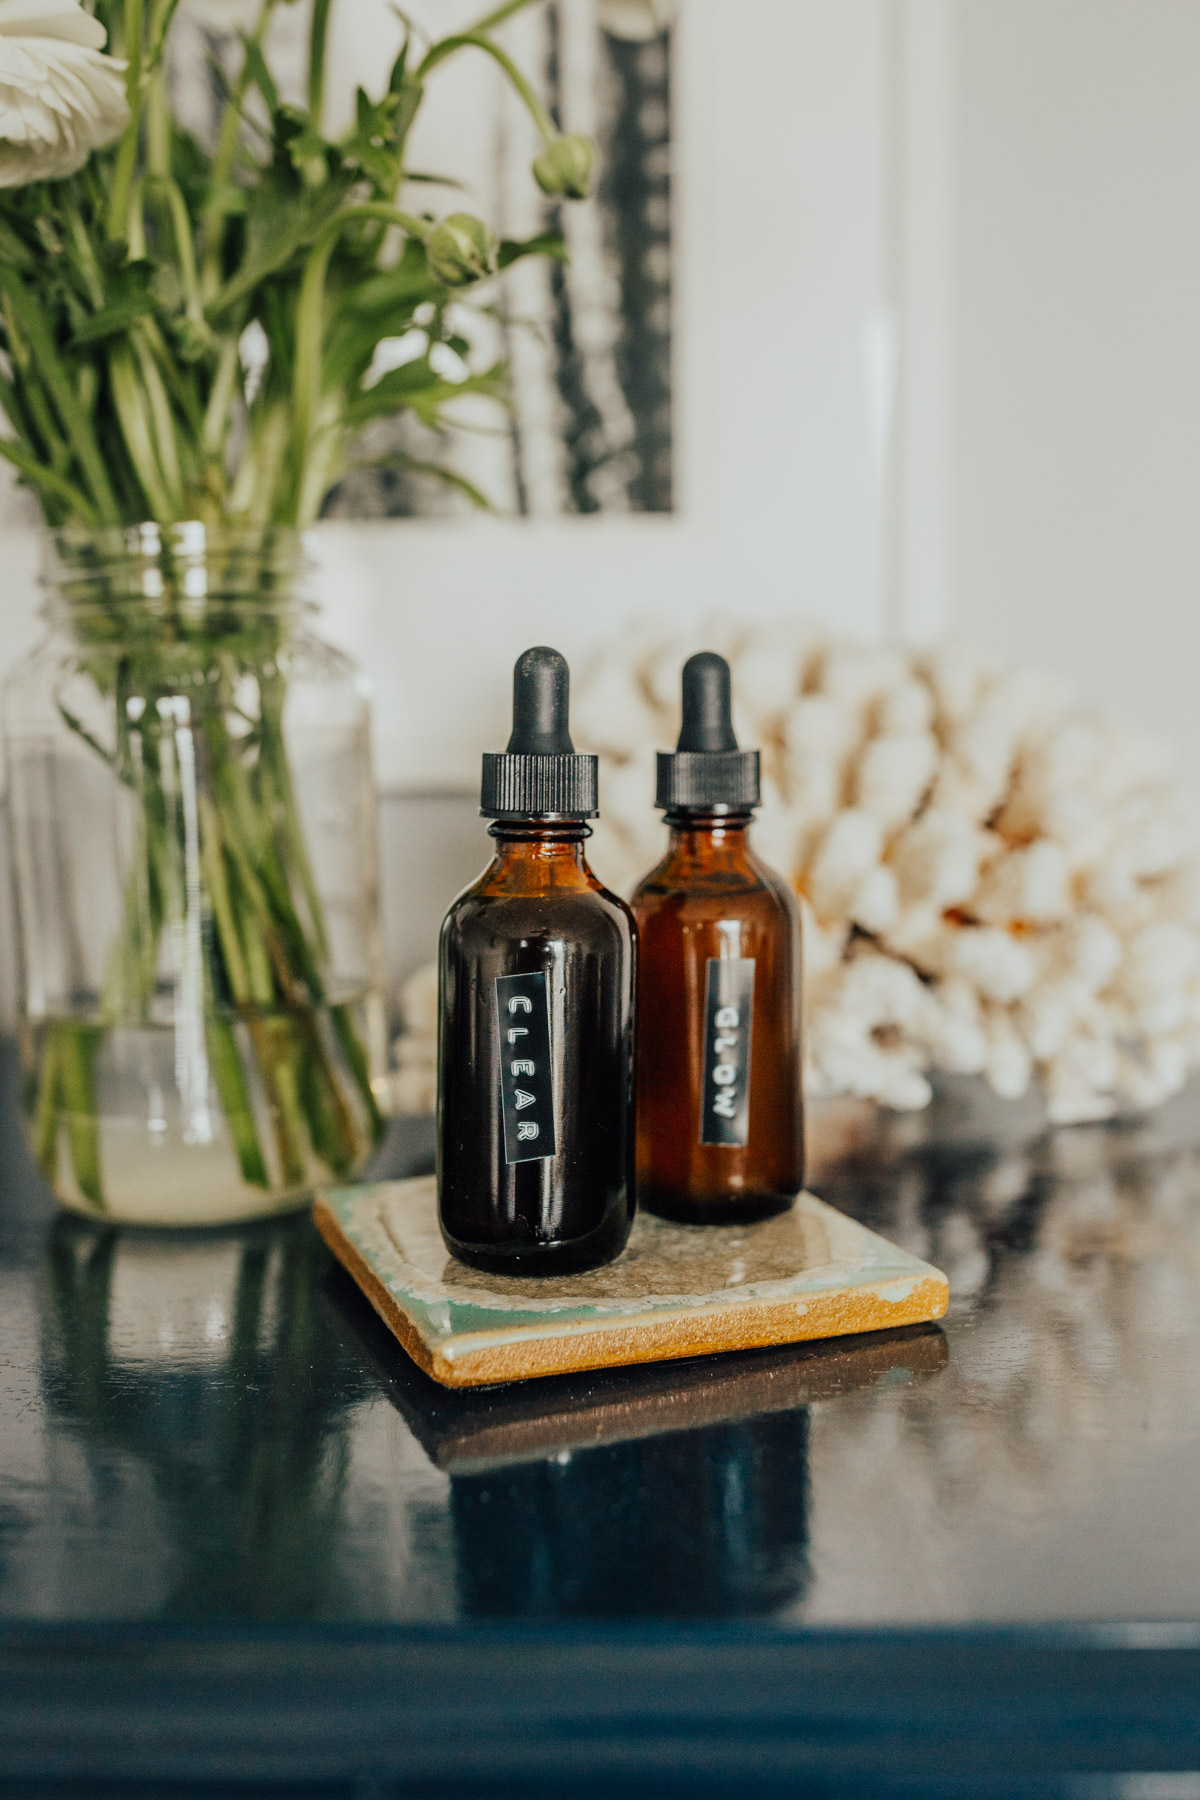
Have you tried making your own homemade face serum? I hope this article has educated and inspired you to create your own essential oil face serum at home. Share your experience and results in the comments below! And don’t forget to pin the image below to save this DIY face serum recipe for future reference.
FAQs
Q: Should I apply the serum once or twice a day?
A: I recommend applying the serum both in the morning and evening for optimum results.
Q: How much serum should I use per application?
A: 3-5 drops are sufficient. Remember, a little goes a long way.
Q: Can I use the serum as a moisturizer?
A: Yes, you can use the serum as a moisturizer in your skincare routine.
Q: Where can I buy essential oils?
A: Essential oils can be purchased from reputable brands like Young Living, or you can find them on Amazon or at stores like Whole Foods.
Conclusion
Making your own DIY face serum is not only a fun and rewarding experience but also allows you to have complete control over what goes into your skincare products. With the right essential oils and carrier oils, you can create a customized serum that addresses your specific skin concerns. Enjoy the process, experiment with different combinations, and discover the incredible benefits of DIY skincare.
Instant Global News is committed to providing you with the latest news and trends from around the world. Stay informed, stay empowered, with Instant Global News!
