Lip balm is a must-have for me—I’m slightly addicted to it. My lips tend to chap easily throughout the year (a lot of it is because I have the bad habit of licking my lips – please don’t do that!). While I’ve been using natural lip balms for years, I never got around to making it myself. However, that all changed when I casually mentioned to my 8-year-old daughter that we should try making it ourselves. She had helped me make a batch of homemade lemon sugar scrub a few weeks ago and loved it. Since then, she’s been eagerly asking me multiple times a day when we could make homemade lip balm. So, here’s how we did it!
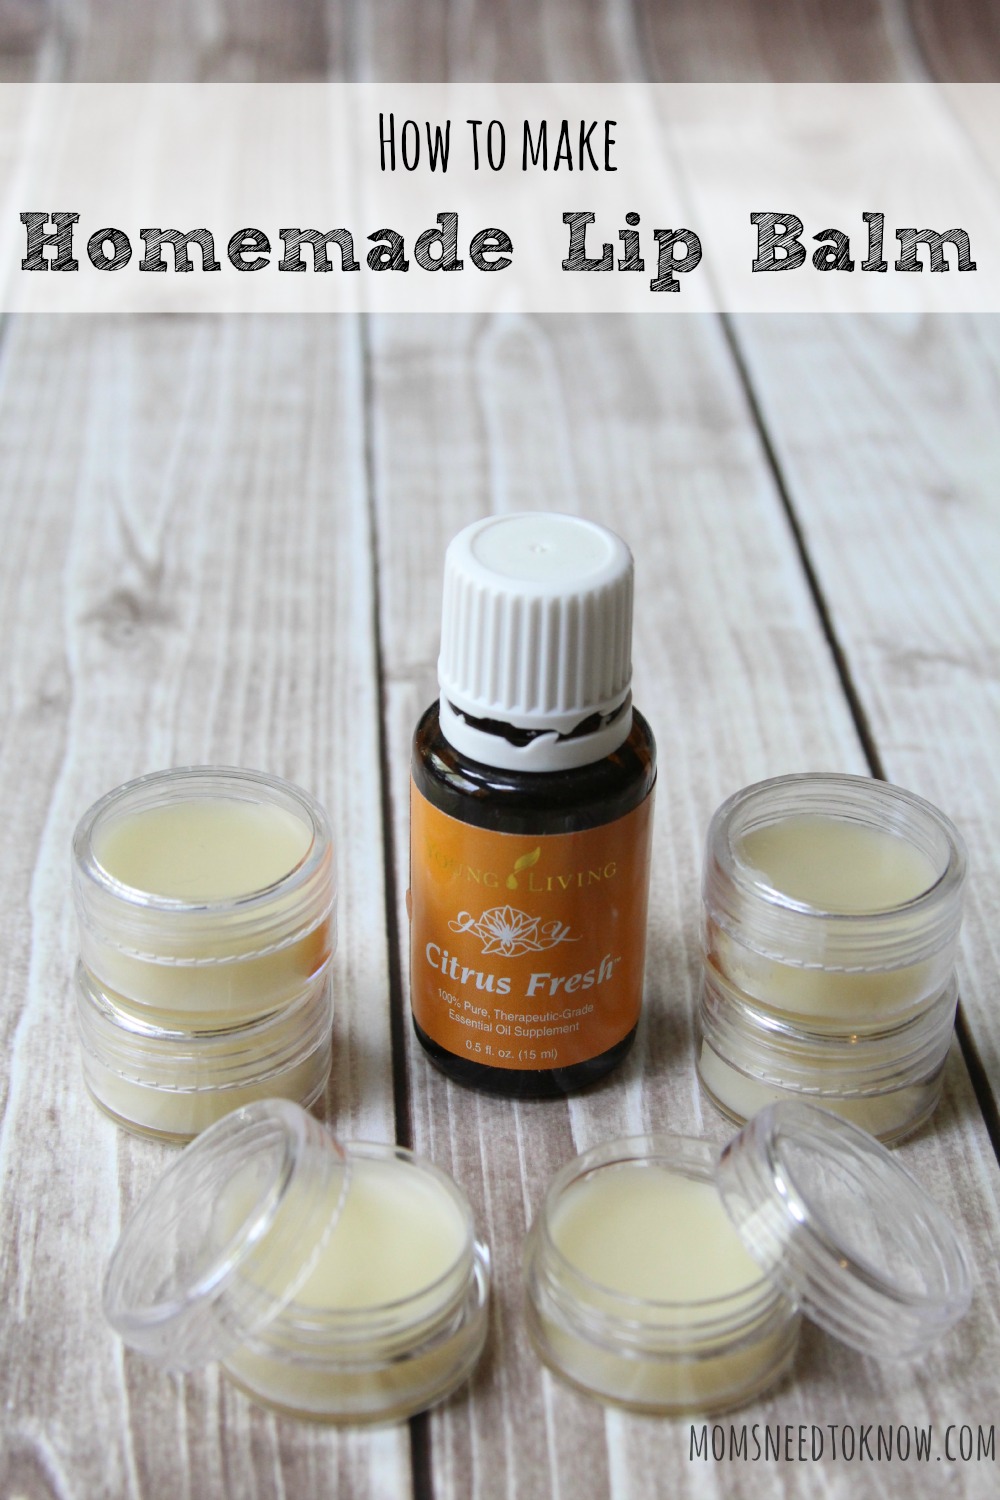
This homemade lip balm is a simple blend of coconut oil, beeswax, shea butter, and essential oils for a delightful scent. Both the coconut oil and beeswax are incredibly moisturizing and act as a natural sunscreen. The shea butter adds an extra boost of moisturization.
You can use small pots or empty lip balm tubes to store the homemade lip balm. I prefer the smaller pots because I always seem to misplace them. Keep in mind that since this lip balm contains coconut oil, it may melt in warm weather. For best results, store it in a cool place or even the refrigerator on extremely hot days.
Personally, I enjoy making small batches so that I can experiment with different oils and scents. This recipe fills approximately seven 5-gram pots. The quantity of essential oils I use is based on using Young Living oils, which I believe have a stronger scent than oils found in supermarkets. If you’re using different oils, adjust the quantity to achieve your desired scent.
Scented Homemade Lip Balm Recipe
- 1 tablespoon Beeswax Pellets
- 1 tablespoon Coconut Oil
- 1 tablespoon Shea Butter
- 12 drops Citrus Essential Oil or oil of your choice
Instructions:
- Melt the shea butter, coconut oil, and beeswax pellets together. You can do this by placing everything in a bowl over boiling water or by microwaving it in short intervals, stirring in between, until the beeswax is completely melted.
- Add in your essential oils and stir to mix.
- While the mixture is still liquid, fill your containers. You can use an elongated measuring spoon or pour it in carefully if you have a steady hand.
- Set aside and allow it to cool.
And that’s it! You’ve successfully made your own homemade lip balm. If you give this recipe a try, I would love to hear from you!
FAQs
Q: Can I use other oils instead of citrus essential oil?
A: Absolutely! Feel free to experiment with different essential oils to customize the scent of your homemade lip balm. Use oils that appeal to you and match your preferences.
Q: How long does homemade lip balm last?
A: When stored properly, homemade lip balm can last up to a year. Make sure to keep it in a cool place away from direct sunlight to maintain its quality.
Q: Can I use this lip balm on other parts of my body?
A: While this lip balm is primarily designed for use on the lips, you can also apply it to other dry areas such as elbows, cuticles, or even small patches of dry skin.
Conclusion
Making your own homemade lip balm is a fun and creative way to pamper your lips and save money. With just a few simple ingredients, you can create a moisturizing lip balm that suits your preferences. Give it a try and enjoy the satisfaction of using a product you made yourself. Happy lip balm making!

